


Ebikes
How to Fix an Uncomfortable Ride on E-Bike with a New Seatpost

10
Jun
Jun
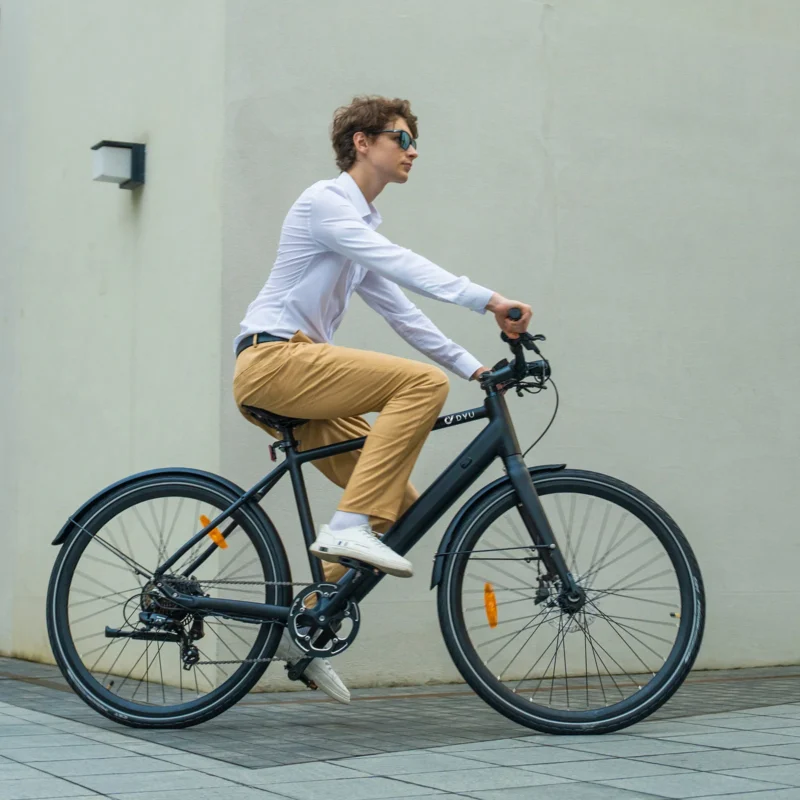
Riding an e-bike should feel enjoyable, smooth, and efficient—but for many riders, the reality is a ride full of bumps, jolts, and sore backsides. I’ve been there myself: after weeks of commuting, I realised my back and tailbone were constantly aching. The good news is that there’s a simple fix that doesn’t require a new bike: upgrading your seatpost. In this expanded guide, I’ll explain why your current ride may feel harsh, what a suspension seatpost can do for you, how to choose the right model, and how to install it yourself. Along the way, I’ll also share extra tips for improving overall comfort and point you to useful resources.
1. Why E-Bike Rides Often Feel Uncomfortable (It’s More Than Just the Saddle)
Many riders assume that saddle discomfort is only about padding or design. I thought the same—I swapped my stock saddle for a plush one, expecting comfort to improve. While it helped a little, I was still feeling every pothole and bump on London’s side streets. The culprit wasn’t just the saddle; it was the seatpost.
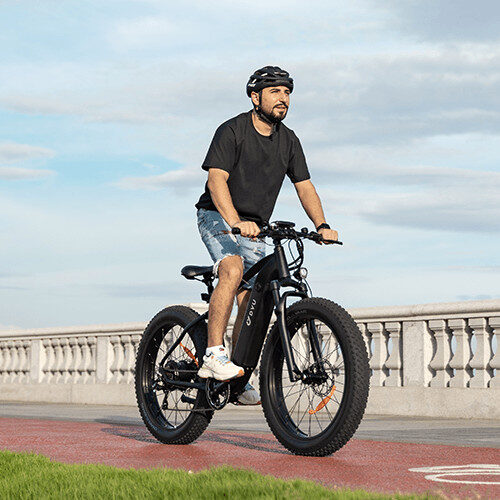
Unlike regular bicycles, electric bikes tend to be heavier, especially cargo and commuter models. When you hit a pothole, that extra weight transfers impact directly into your body. Without any shock absorption in the seatpost, those vibrations move straight through your spine and hips. Over time, that leads to soreness, fatigue, and even potential long-term strain. A properly chosen e-bike suspension seatpost acts as a buffer, turning harsh bumps into manageable vibrations.
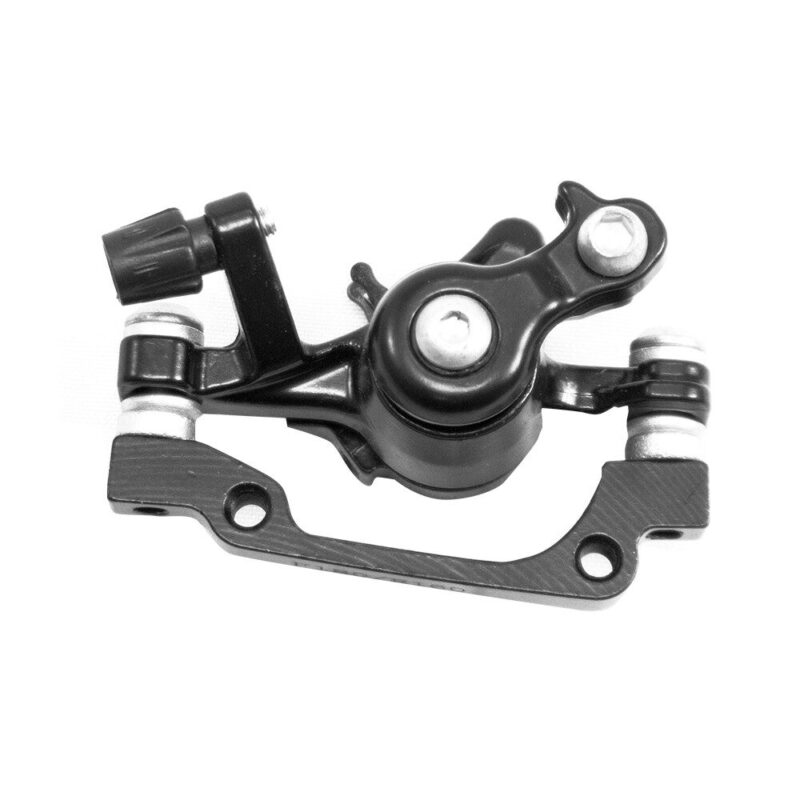
2. What an E-Bike Seatpost Does and Why It Matters

Your seatpost is the tube that connects your saddle to your bike’s frame. On basic e-bikes, it’s often just a simple metal tube. That’s fine for smooth asphalt, but useless when dealing with rough city roads, cracked pavements, or canal towpaths. That’s where suspension seatposts come in.
There are several types of seatposts designed to absorb shocks and improve comfort:
- Suspension (spring or elastomer): Includes a spring or rubber insert that provides up to 50 mm of travel. Great for smoothing everyday bumps.
- Dropper post: More common in mountain biking, lets you raise or lower your saddle mid-ride. Some models also include suspension.
- Lockout feature: Lets you disable the suspension when climbing or sprinting, making your pedalling more efficient.
By absorbing vibrations, suspension seatposts improve not only comfort but also control. Instead of every bump jolting through your pelvis, the seatpost cushions the impact, leaving you less fatigued and more stable on the bike.
3. Choosing the Right Seatpost for Your E-Bike

Not all seatposts are created equal, and the best option depends on your bike and riding habits. Here’s a breakdown of the most important factors to consider:
| Factor | Why It Matters | Good Range/Examples |
|---|---|---|
| Diameter | Must match your bike’s frame tube | 27.2 mm, 30.9 mm, 31.6 mm |
| Suspension travel | Determines how much bump absorption you get | 35–50 mm is ideal for city commuting |
| Material & weight | Lightweight materials improve handling | Aluminium is common, carbon is lighter but pricier |
| Adjustability | Lets you fine-tune comfort for your weight | Look for preload or damper settings |
| Lockout | Helps conserve energy on smooth rides | Useful for mixed terrain |
| Price | Ranges from budget to premium | £30 entry-level; £200+ for advanced |
Popular Picks in the UK
- Suntour SP12-NCX (£80–£120): A classic commuter seatpost with coil spring and lockout switch. Reviewed widely on socialmoms.com, greenpedel.com, and bikethesites.com.
- Cane Creek Thudbuster (£130–£180): An elastomer suspension post, reliable for heavier bikes and folding e-bikes (ebikingtoday.com).
- Redshift ShockStop (£150–£200): Lightweight with adjustable elastomer suspension, perfect for riders who value comfort without adding too much bulk.
Rider Feedback
“Like night and day… I put a Suntour NCX on my commuter and it made a huge difference.” (reddit.com)
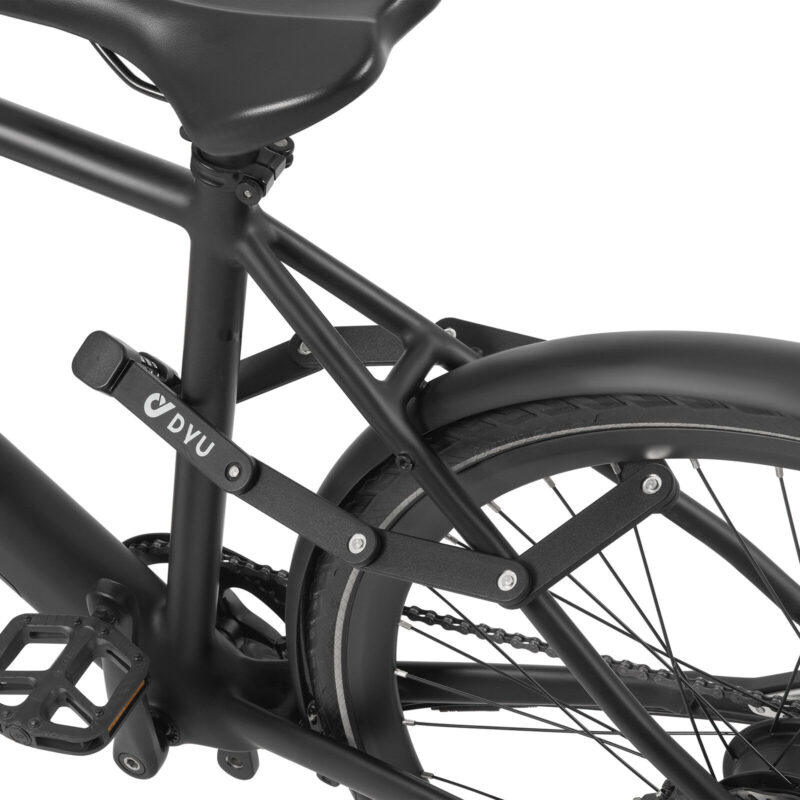
4. Installing a New Seatpost at Home

Installing a seatpost sounds intimidating but is actually quick and simple. Here’s a step-by-step guide you can follow at home:
Tools you’ll need:
- 6 mm Allen key
- Grease (for aluminium/steel) or carbon paste (for carbon frames)
- Ruler or measuring tape
Step 1: Measure and mark the current insertion depth of your old post.
Step 2: Loosen the seat clamp bolts and remove the old post.
Step 3: Clean inside the seat tube and apply grease or paste.
Step 4: Insert the new post to the marked depth, then tighten according to torque specs.
Step 5: Adjust saddle angle and height until comfortable.
Step 6: Test ride over mixed terrain and fine-tune preload or lockout settings if available.
In less than 15 minutes, you’ll notice a dramatic difference in ride comfort.
5. Beyond the Seatpost: Extra Comfort Tips

While the seatpost is a major upgrade, here are other changes that can further boost your riding comfort:
- Correct saddle height & tilt: Poor angles or wrong height cause strain. Keep it level with your hips.
- Upgrade your saddle: Gel or memory foam saddles relieve pressure points.
- Maintain tyre pressure: Too high = harsh ride; too low = punctures. Stick to mid-range PSI.
- Wear padded shorts: Even short rides feel smoother with extra cushioning.
- Service your bike: Loose parts and worn bearings cause extra vibrations.
6. Which E-Bike Types Benefit Most?
Here’s a quick look at how different e-bike categories benefit from a suspension seatpost:
| Bike Type | Weight | Conditions | Benefit |
|---|---|---|---|
| City commuter | 20–25 kg | Urban roads, potholes | High |
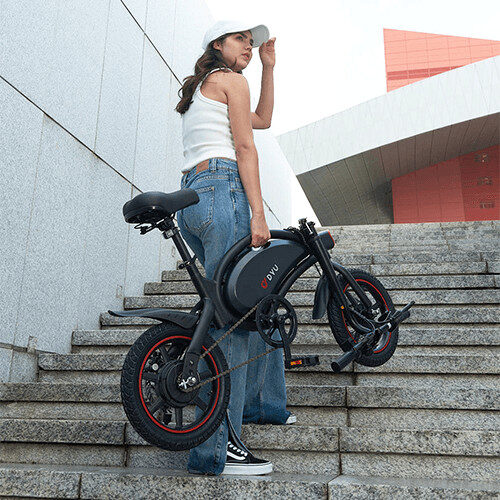
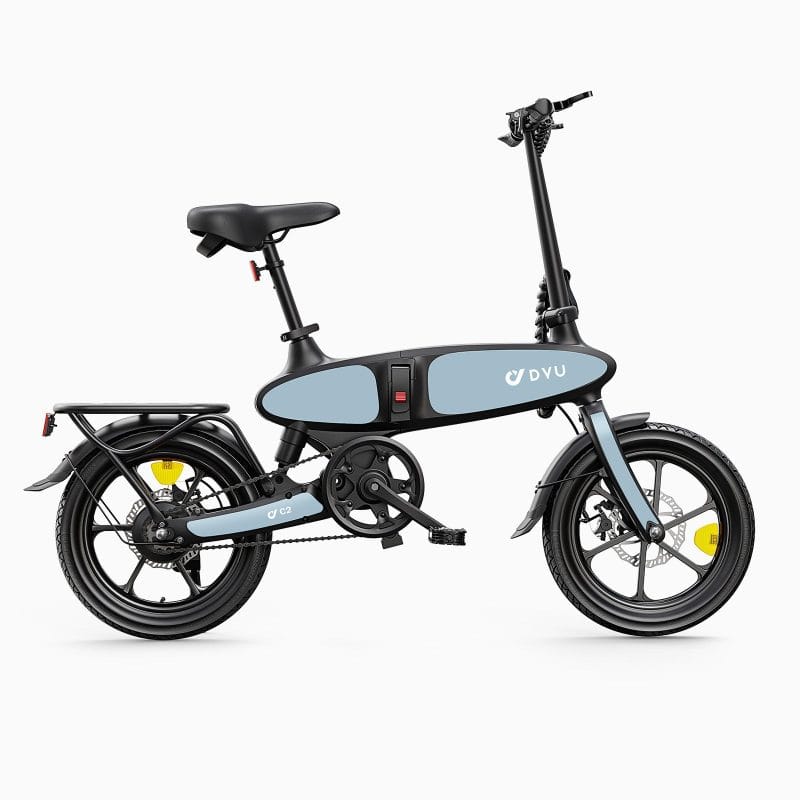
| Folding e-bike | 15–20 kg | Mixed terrain | Very high |
| Cargo bike | 25–35 kg | Heavy loads | Essential |
| Mountain e-bike | 20–30 kg | Trails, rocks | Often built-in |
| Hybrid/Road | 12–18 kg | Smooth surfaces | Moderate |
7. Resources & Further Reading
8. Is a Suspension Seatpost Right for You?
If you often ride on rough roads, carry loads, or simply feel sore after rides, then the answer is yes. Even if your e-bike already has a stock suspension post, an aftermarket upgrade can offer much better comfort and durability.
9. Final Steps: Transform Your Ride
- Measure your bike’s seatpost diameter.
- Choose a suspension post suited for commuting (35–50 mm travel).
- Install it yourself in minutes and enjoy the difference.
Pair the upgrade with correct tyre pressure, a good saddle, and padded shorts, and you’ll find your commute feels like gliding instead of bouncing.
FAQ
Why is my e-bike ride still uncomfortable after changing the saddle?
Because the seatpost is just as important as the saddle. A rigid post sends every bump into your body.
What type of seatpost is best for city commuting?
A suspension post with 35–50 mm travel, such as the Suntour SP12-NCX, is ideal.
How do I know if a seatpost will fit my bike?
Check your current post’s diameter—usually printed on it—and buy the same size.
Can I install one myself?
Yes, most riders can replace a seatpost in 10–15 minutes with a simple hex key.
Besides changing the seatpost, what else improves comfort?
Adjust saddle tilt, keep tyres at correct pressure, and consider padded cycling shorts.


Great tips! The seatpost alignment trick worked wonders for my sore back. Thanks!
My folding e-bike’s tiny wheels used to jolt me everywhere. New seatpost turned it into a smooth ride—game changer!
The seatpost itself is great, but the article didn’t warn that some saddles might need adjusting afterward. Took me a week to get right.