
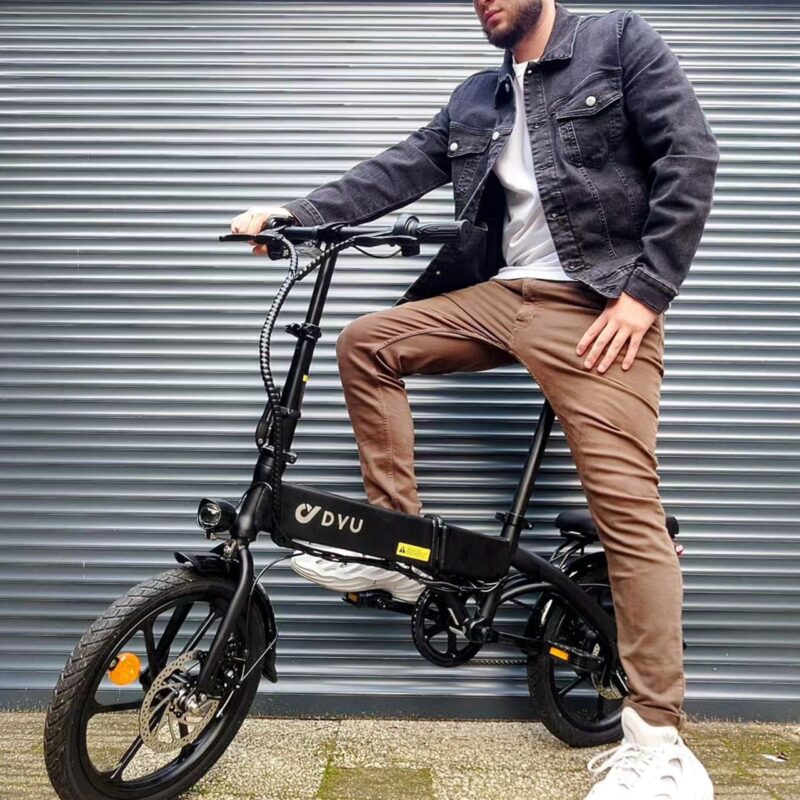
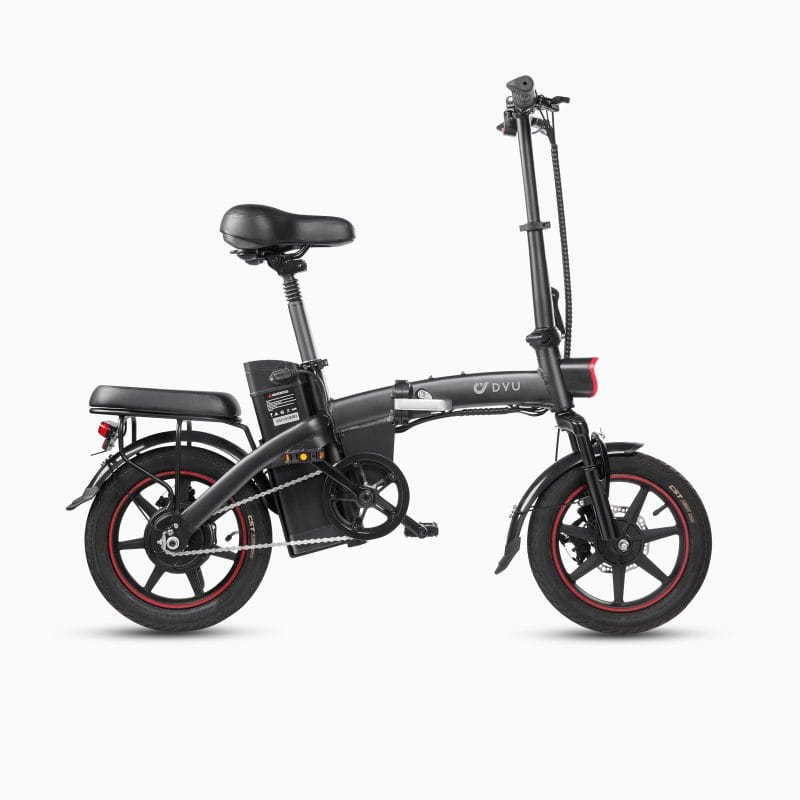
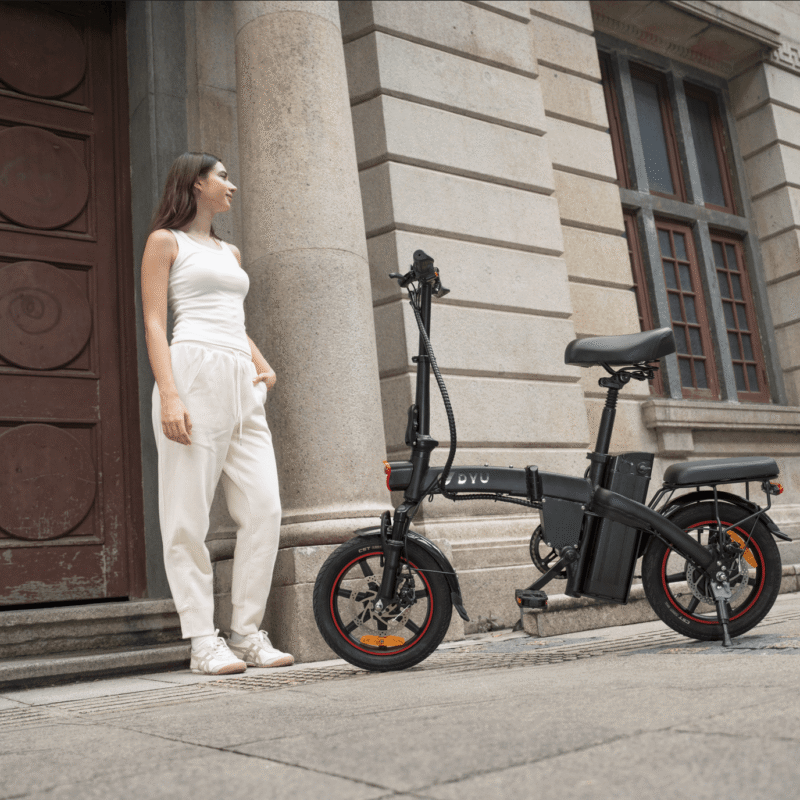
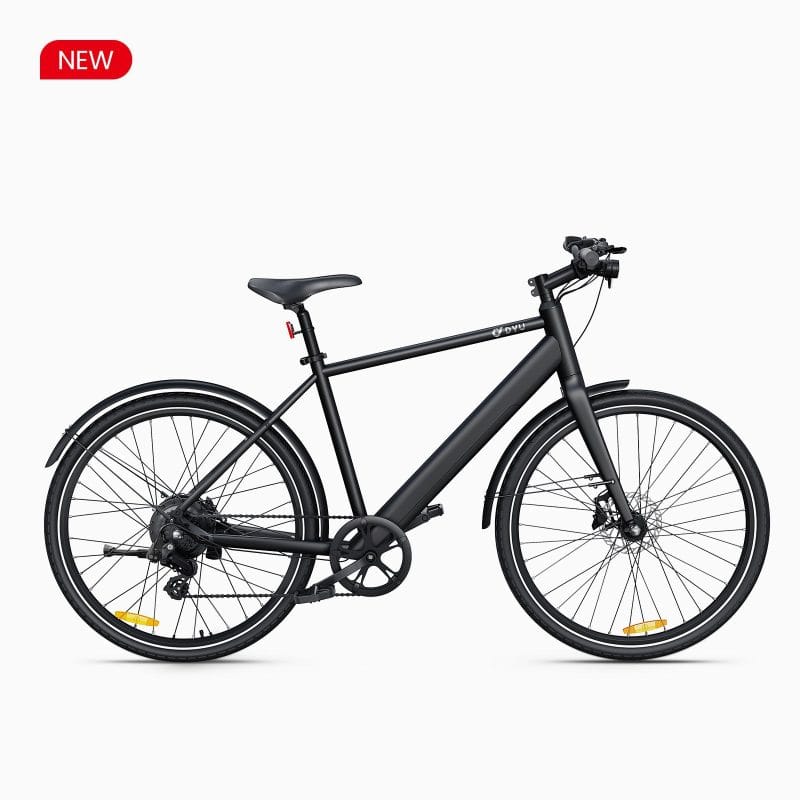


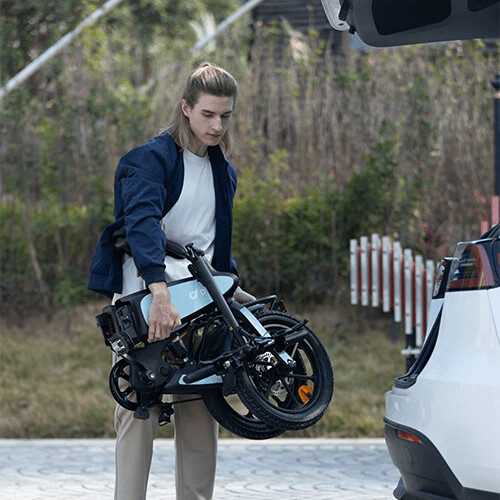
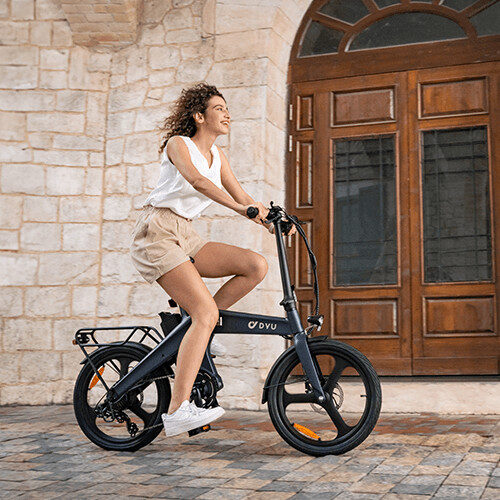

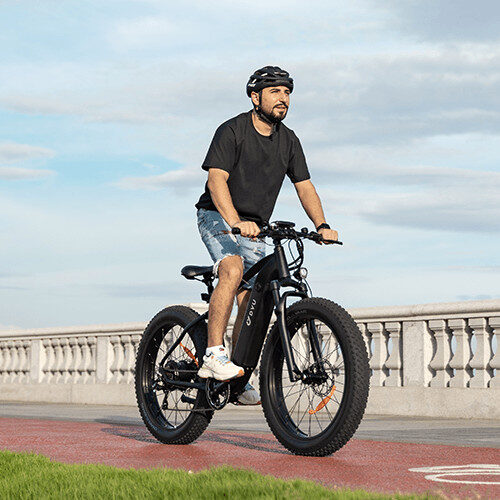
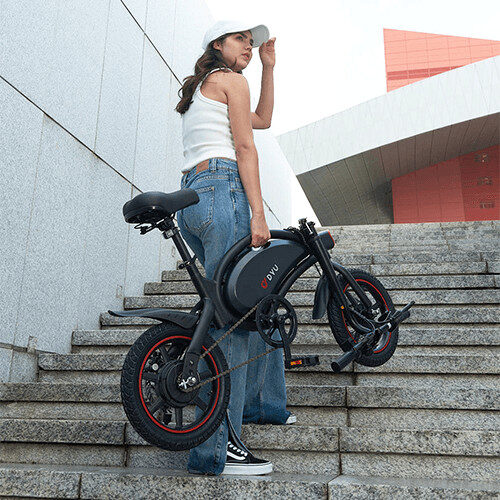

Ebikes
Enhancing E-Bike Safety: Brake Upgrades, LED Lights & Signal Systems

16
Jun
Jun
Why E‑Bike Safety Begins with You
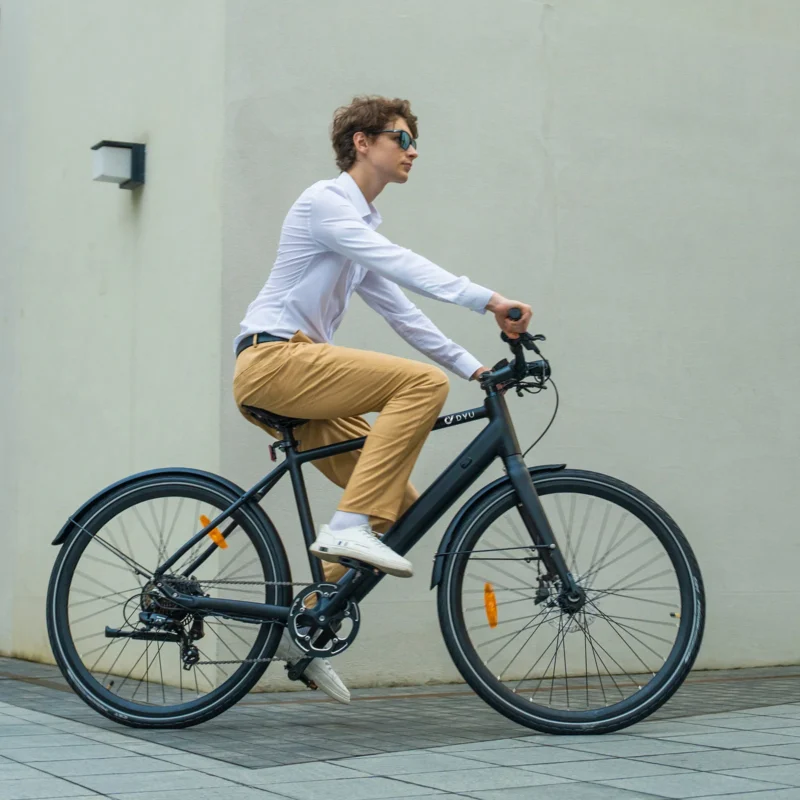
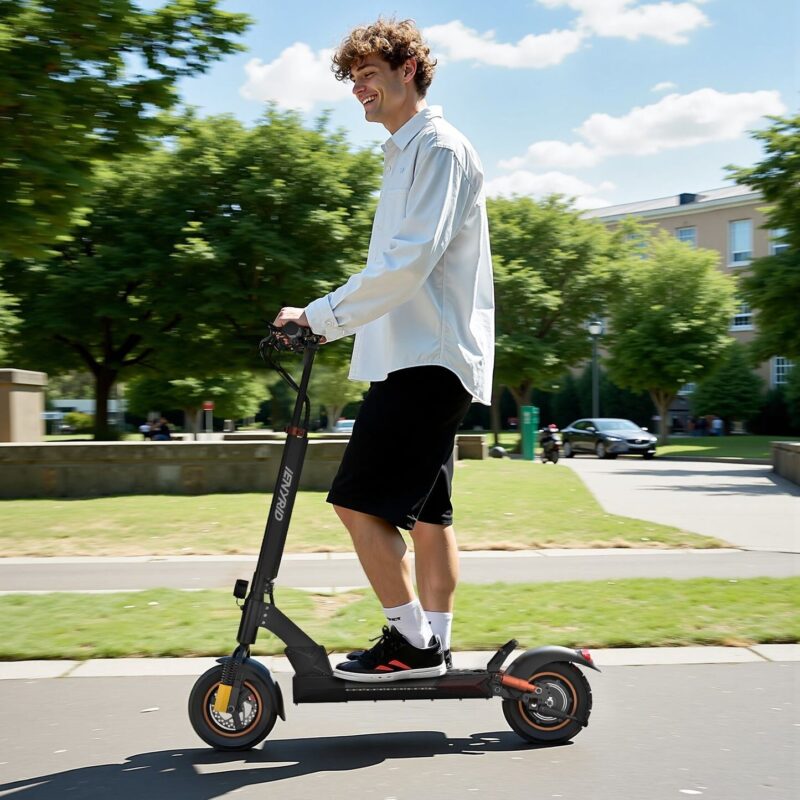
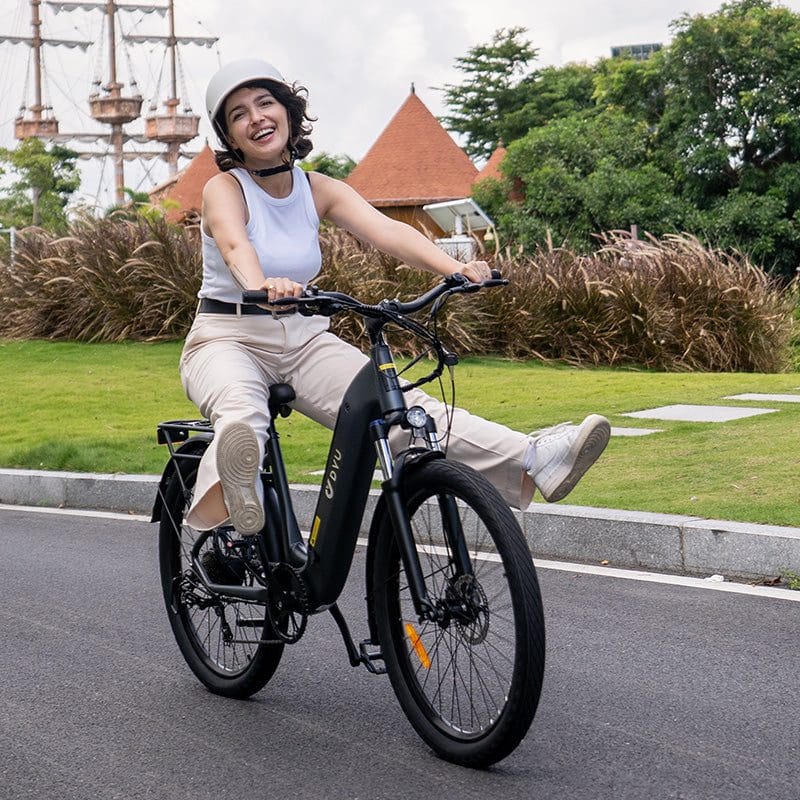
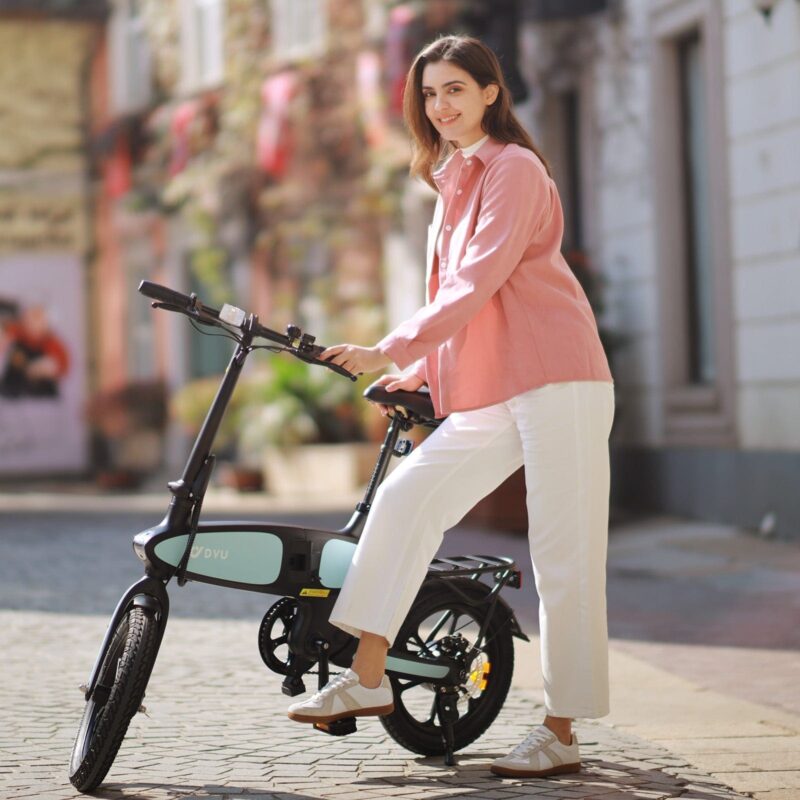
Riding an e‑bike is such a liberating experience—extra speed, effortless climbs, and that sense of freedom. But with that added power and weight comes a need for upgraded safety. E‑bikes can reach 25 km/h (or more with some kits), and their extra mass demands more from brakes, lighting, and signaling systems. I’ve personally felt the difference after an emergency stop showed me how easily stock components can falter in rain or heavy traffic. So as riders, we owe it to ourselves—and to those around us—to invest in reliable E‑Bike Brake systems and visibility upgrades. Let’s explore how.
Braking Better: The Heart of E‑Bike Safety
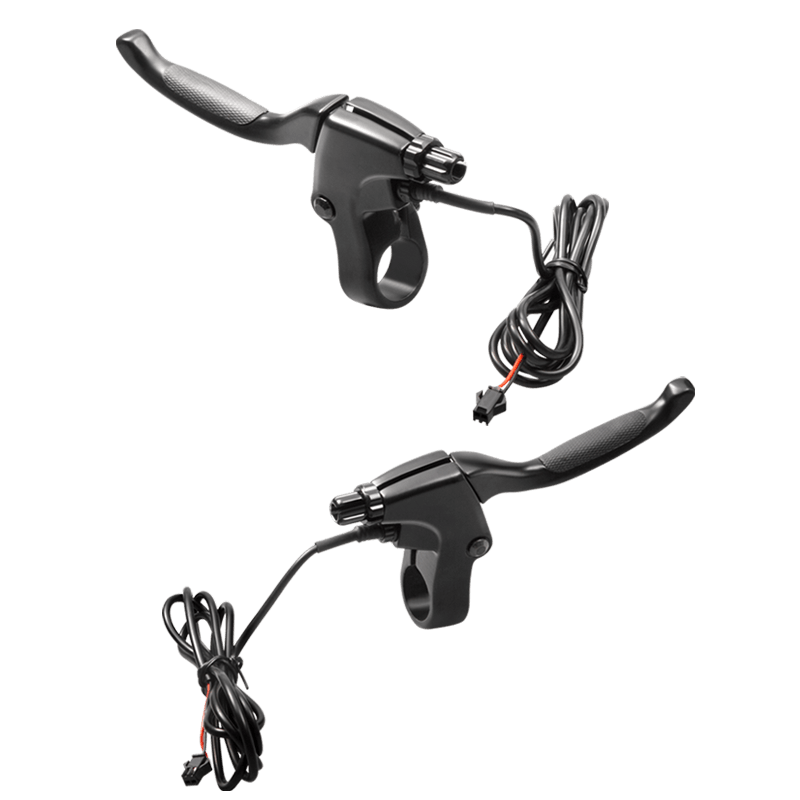
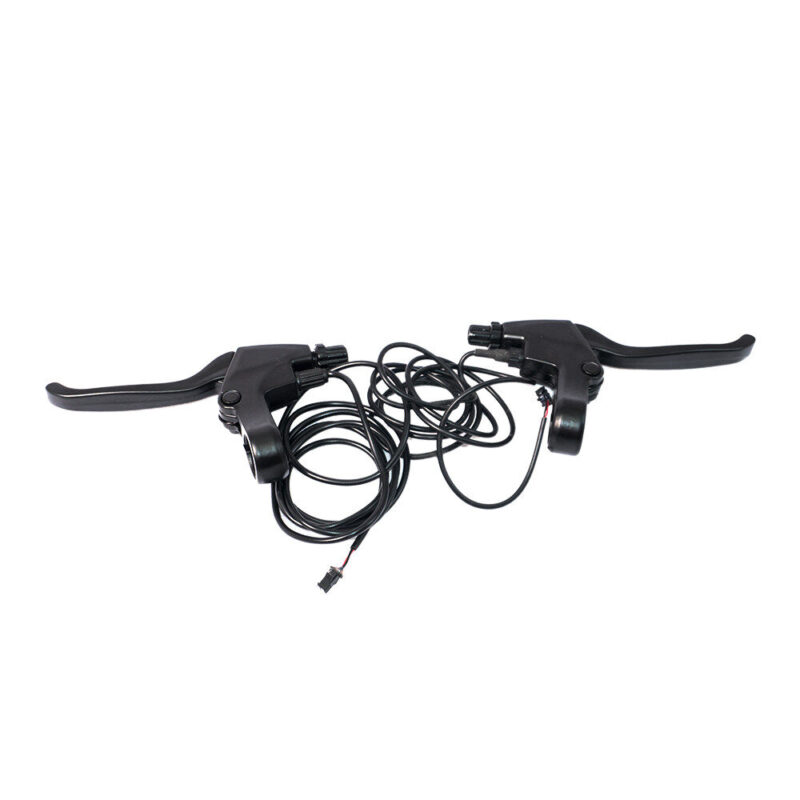
Stopping power is the single most crucial safety feature on any bike. On an e-bike, I suggest you go beyond basic stock brakes.
Brake Types Overview
| Brake Type | Stopping Power | Modulation | Maintenance | Typical Cost |
|---|---|---|---|---|
| Mechanical Disc Brakes | Medium | Less precise | Easy (pads only) | £20–50 |
| Hydraulic Disc Brakes | High | Smooth | Moderate (bleeding) | £80–200 |
| Rim or V-Brakes | Low–Medium | Limited | Easy | £10–30 |
I started with mechanical disc brakes, which were adequate in dry conditions but unreliable when wet. Once I upgraded to hydraulic disc brakes (like Shimano MT200 or Tektro HD-M275), the difference was night and day—stronger bite, precise control, and remarkable consistency even in rain.
If you’re new to brake upgrades, this clear guide walks through the benefits of hydraulic systems and step-by-step installation tips:
E-Bike Brake Upgrade Guide
Why it matters:
- Faster, more reliable stops
- Better control in emergencies
- Confidence boosting, especially in urban settings or downhill rides
Lighting Matters: Be Seen to Stay Safe

Visibility is more than just a comfort—it’s a survival tool. Riders are less visible at dawn, dusk, or on overcast days. Let me walk you through what made a difference for me.
Choosing the Right LED Lights
- Front Beam (Lumens):
- 400 lm = city roads
- 600–1,000 lm = rural or unlit streets
- Rear Light Style:
- Flashing modes catch drivers’ attention.
- Brake-activated LEDs give you extra edge in heavy traffic.
- Power Source:
USB-rechargeable means no dead batteries. Aim for at least 4 hours high-beam runtime. - Mount Type:
Quick detach systems protect your lights from theft and make folding easy.
These lights come recommended:
- Exposure Blaze Mk10 front light – ultra-reliable with multiple beam settings
- Cateye Rapid Micro rear light – compact, waterproof, great flash modes
- NiteRider Sentinel USB – integrates turn signals, bright rear visibility
Mount your front light at the handlebar stem or helmet for better sightlines. Rear lights should be at eye-level for approaching drivers. One year I added a helmet lamp pointing up to street signs—game-changing for navigation on rural routes.
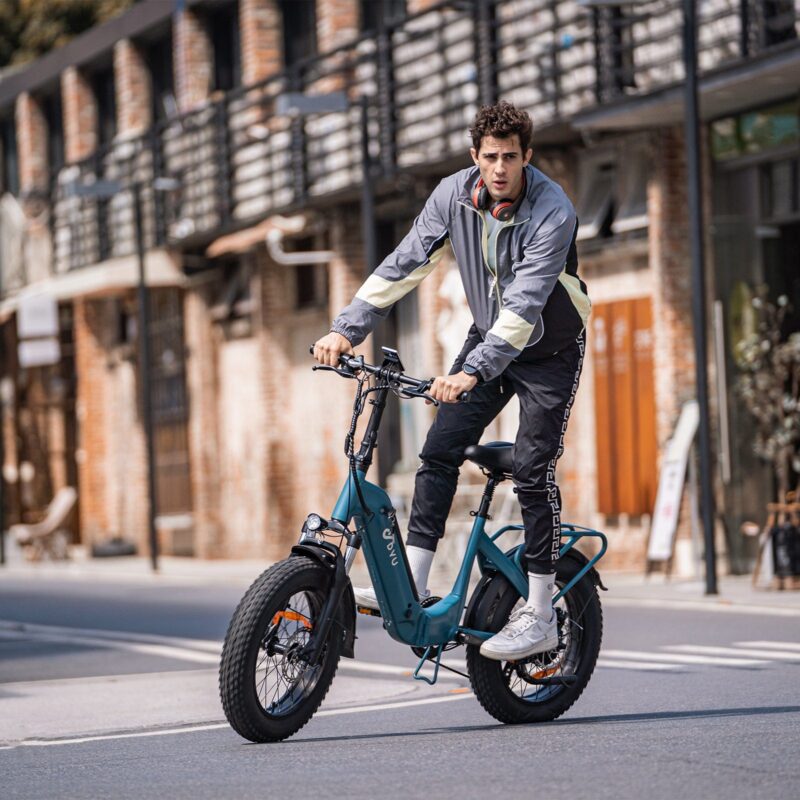
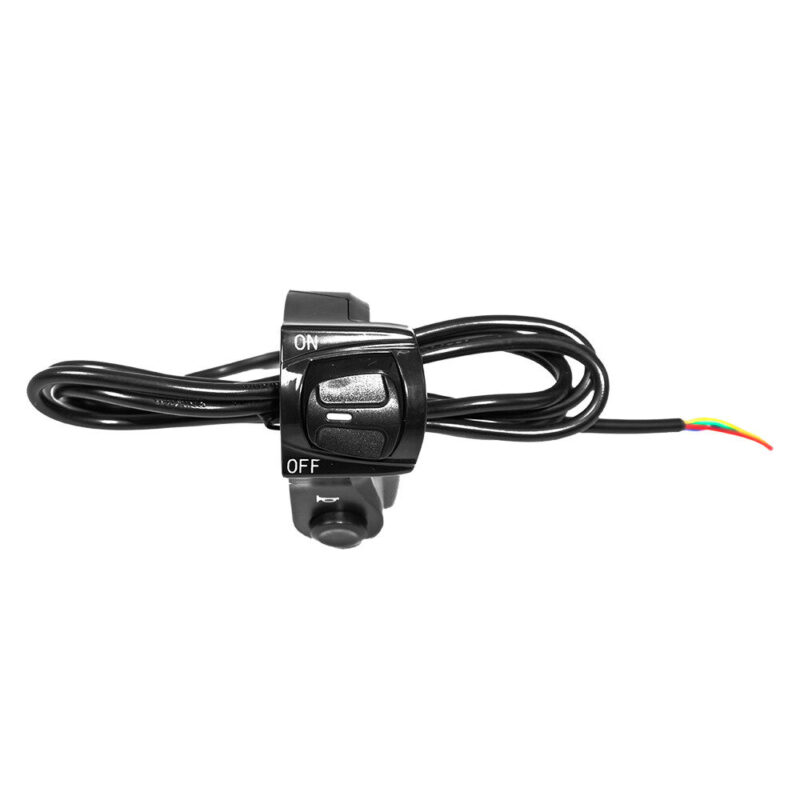
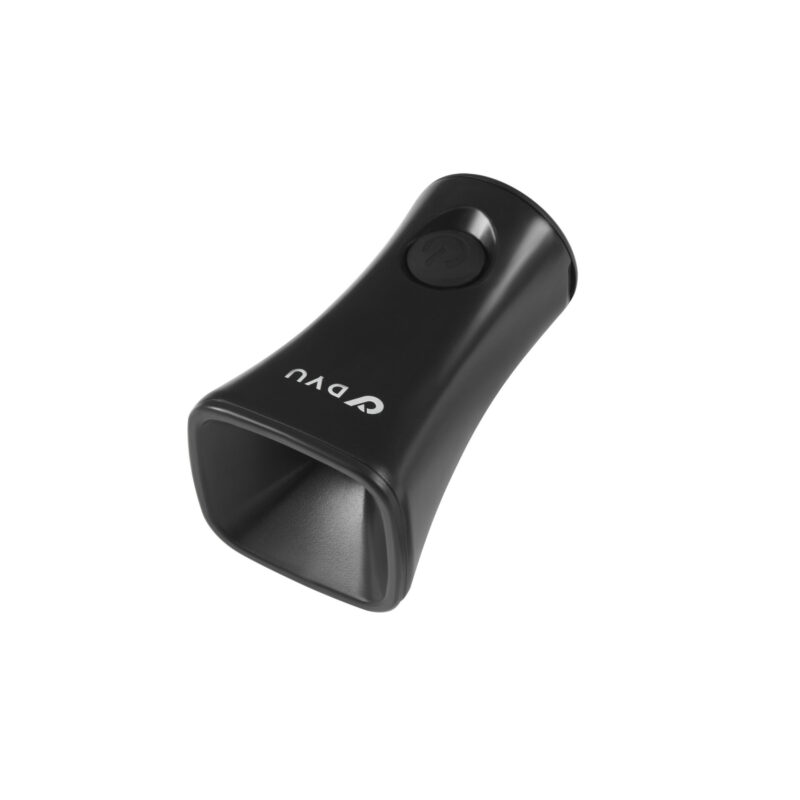
Signaling Your Intent: Turn Signals & Brake Lights

Hand signals are great, but not always visible or easy when riding with gear. Turn signals and sensor-activated brake lights can step in.
Why I Added Them
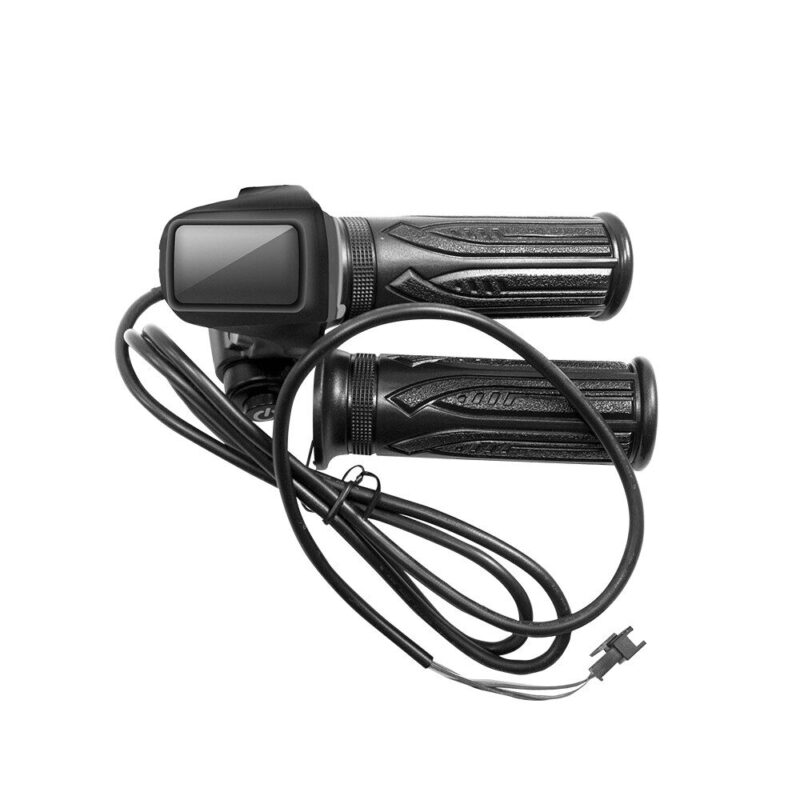
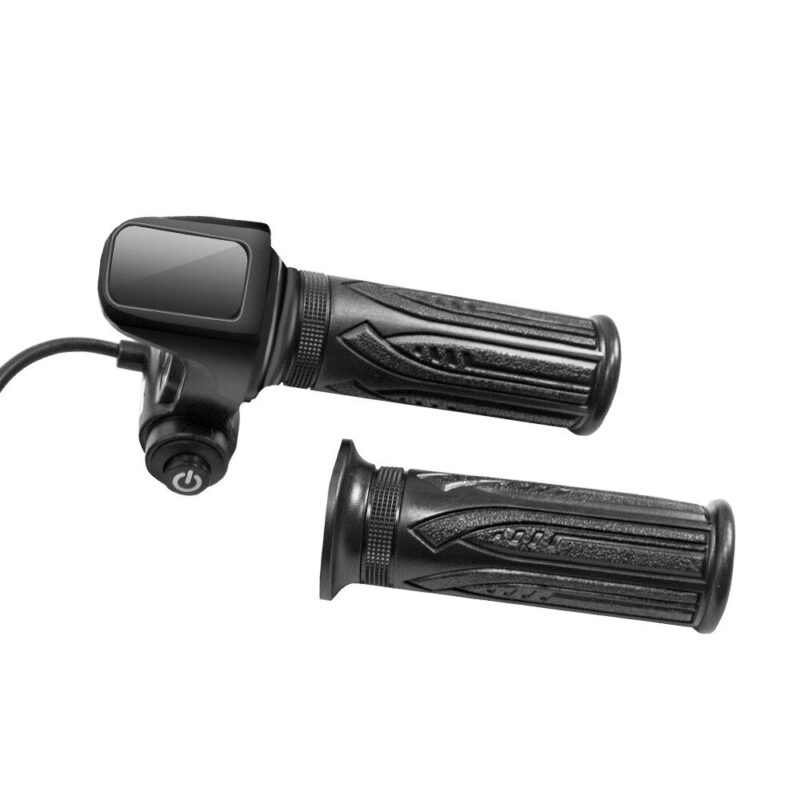
- Turn Signals:
Useful when riding with panniers or commuting in traffic. A thumb-click wireless system let me signal without changing grip. I chose a kit from Busch+Müller grip‑end signals, but there are many on-market wireless options. - Brake Light Modules:
These sense when you squeeze the brake lever and light up rear LEDs. Drivers behind me have easier visual cues, reducing collision risk. - Installation:
Many kits clip on—no drilling or wiring. Look for USB-rechargeable units to avoid battery hassle.
These signal upgrades may cost £40–£80, but the safety return is worthwhile. Especially in heavy traffic, clarity about your direction can save you from near-misses.
Choosing the Right Safety Setup for Your Riding Style

Not all riders need the same kit. Here’s a breakdown to help you figure out what fits your situation:
| Riding Style | Brake Upgrade | Front Light | Rear Light + Brake Sensor | Turn Signals |
|---|---|---|---|---|
| City Commuting | Mechanical (extra pads) or Hydraulic | 400–600 lm | Flashing mode only | Optional |
| Suburban / Mixed Routes | Hydraulic | 600–800 lm | Brake sensor + steady + flash | Recommended |
| Night / Winter Riding | Hydraulic | 800–1,200 lm + helmet lamp | Brake sensor + flash | Recommended |
| Folding / Multi-Modal | Lightweight mech/hydraulic | Clip-on 600 lm | Quick detach rear light | Wireless kit |
My Setup (Hybrid City / Night Rides):
- Hydraulic disc brakes (thicker rotors for better heat resistance)
- 800 lm USB-rechargeable front light
- Rear light with brake-sensor + flashing mode
- Wireless grip-end turn signals
- Quick-release mounts for everything (essential for my foldable e‑bike)
This combination is both effective and adaptable. You can mix or match based on your needs and budget—always prioritizing brakes and visibility first.
Budget & Maintenance: Keeping It Simple and Durable

Upgrading doesn’t need to break the bank. Here’s how I break it down:
- Brakes (Hydraulic): £80–£200
- Front LED Light: £40–£100
- Rear Light + Brake Sensor: £30–£60
- Turn Signal Kit: £40–£80
Total: £190–£440 depending on parts chosen.
Budget hacks:
- Used hydraulic brake sets can be £50–£80
- Entry-level LED lights (400 lm) start from £30
- Phone-bike mount doubles as day light
Maintenance Tips
- Brake Pads & Rotors: Replace when pad thickness <1 mm or rotor is scored.
- Bleed Hydraulic Brakes: Every 12–18 months or if sponginess appears.
- Light Batteries: Fully recharge after rides and top up monthly.
- Signal Kits: Keep USB ports clean and recharge regularly.
With basic tools and occasional YouTube tutorials, you can handle most maintenance yourself—and save on workshop costs.
Real-Life Safety Enhancements: My Journey
I used to feel uneasy commuting in traffic, especially at dusk or in light rain. Now, with upgraded brakes and bright lights, I ride with confidence. Adding turn signals took it a step further—drivers respond more predictably, and I’ve had fewer close calls at junctions.
Riding between cities at night used to be stressful. Now, with an 800 lm front light plus helmet lamp, I can see curves and road signs well ahead—more comfort, less fatigue.
By asking myself “Where do I ride? What hazards do I face? Which upgrade protects me most?”, I made informed choices rather than chasing expensive gear.
Your Action Plan: Take Safety to the Next Level
Here’s a checklist to help you get started:
- Assess your ride environment: Are you urban, suburban, rural, or mixed?
- Prioritize brakes: Mechanical + fresh pads for short rides; go hydraulic if speeds or conditions demand it.
- Choose your lighting:
- 400–600 lm for city commuting
- 800+ lm for night or rural rides
- Add helmet/backpack light if needed
- Add rear visibility: Rear light with flashing modes or brake sensor
- Invest in signals: If you ride in traffic or carry loads, a turn-signal kit can be a game changer
- Maintain regularly: Brake bleed, pad checks, light recharge—stay ahead of wear and tear.
- Set it up, then test: Use a quiet street or empty car park to test braking power and visibility in real conditions.
Let’s Ride Safer Together 🚴♀️
You’ve got the roadmap now—my journey, tools, and tips for creating a safer, smarter e‑bike setup. Take it at your own pace: begin with the brakes, then lights, then signals. Once you experience the increased confidence and control, you’ll wish you’d done it sooner.
🔗 For more product options and reviews, check out these trusted resources:
Now it’s over to you:
Which upgrade will you make first, and when will you try it? Share your plan and questions in the comments. I’m happy to help you pick parts or troubleshoot.
Let’s ride smarter, be seen, and stay safe—together.
Take the first step today: replace those worn pads, fit a brighter light, or clip on signals. Your future self will thank you!
FAQ
What type of brakes are best for e-bikes?
Hydraulic disc brakes are ideal due to their strong stopping power, especially in wet or high-speed conditions.
How bright should my e-bike front light be?
For city commuting, 400–600 lumens is usually enough. For rural or night riding, aim for 800–1,200 lumens.
Are turn signals necessary on an e-bike?
They’re not required, but very helpful—especially when riding in traffic, with panniers, or at night.
How much does it cost to upgrade safety gear on an e-bike?
A full upgrade (brakes, lights, signals) typically costs £190–£440 depending on components.
How often should I maintain e-bike safety components?
Check brakes and lights monthly. Replace pads when worn, recharge lights after each use, and bleed hydraulic brakes yearly.


The advice on brake upgrades was super helpful. I’ve had close calls before—time to invest in better brakes.
As an e-bike commuter, I can confirm that better lights and signals make a huge difference. Wish I’d known these tips earlier.
Signal systems sound useful, but wireless kits can lose connection—has anyone faced this?